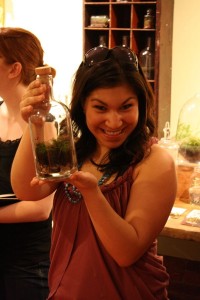
How to Make a Terrarium (in a Root Bottle)
 Call me a terrarium expert in training. And I’ll teach you how to make a terrarium, too!
OK, maybe expert is pushing it. But in addition to planting my own backyard garden, I recently attended a Terrarium workshop with the folks at Arts in the Age of Mechanical Reproduction in Olde City.
I had no idea how to create a terrarium, or the skill it requires. But Dave and the other guides successfully have been planting terrariums and gave me (and 40 of my new friends during the 2 hour workshop) tricks of the trade as we enjoyed Root mixed drinks.
Terrarium materials:
- An empty bottle or jar (preferably with a lid)
- Small stones
- Spanish moss
- Charcoal pellets
- Soil
- Moss
- Paper (for a funnel)
- Chopstick(s)
- Towel (paper or cloth)
How to make a Terrarium – Step-by-Step:
1. Start with a clean, label-free bottle. Clean your bottle & stopper with hot soapy water, rinse thoroughly and let dry. Peel off the label so the bottle’s totally smooth. We used a Root bottle, pre-washed and ready.
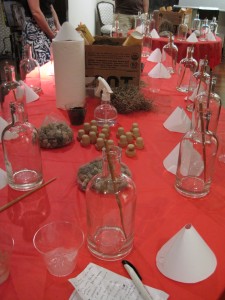
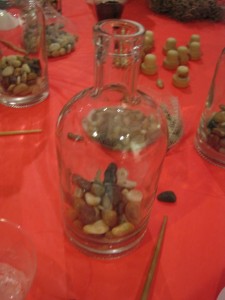
2. Add stones. Using the paper funnel, add a layer of small stones, gravel, crushed brick, or similar clean, dry rocks to the bottom of the bottle. We used small stones during the class. This will help your terrarium drain, allowing the soil to dry naturally to avoid rot & decomposition.
3. OPTIONAL – Moss: Add a thin layer of Sphagnum Moss or Spanish Moss on top of the rocks. This is an extra filter to help drainage too!
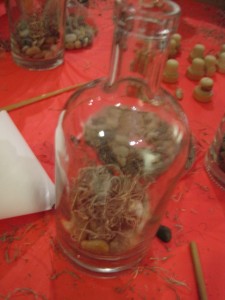
4. OPTIONAL – Charcoal pellets: Add a thin layer of activated charcoal pellets to purify the water as it passes through the drainage, preventing fungus, cyanobacteria and algae buildup.
5. Add a layer of soil. Amount & soil type will depend on what’s best for your terrarium plants. If you harvest plants from a specific area, you can harvest the soil from there – but be aware that you may introduce other life (insects, worms, fungi or other rogue plants like weeds) – which may or may not be desired.
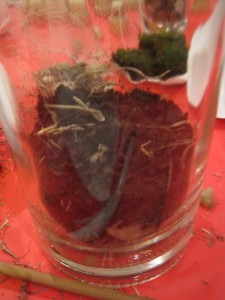
6. Add your plants – CAREFULLY! This is the tricky part – you want to get your plants in there without damaging them in the narrow bottle. I was instructed to ‘fold’ the moss so it breaks naturally and place in the bottle, using the chopstick to organize it as you wish.
Note: If your plant samples are clinging to dirt, it helps to spray them with water to form a mud clump that you can shape.
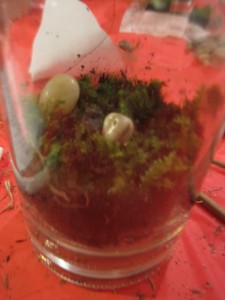
7. Clean up. To make a pretty terrarium, use the chopstick with a paper towel swab (held on tightly by a rubber band) to clean off the mud and other material on the inside of the glass. Wipe off all the debris until you love it!
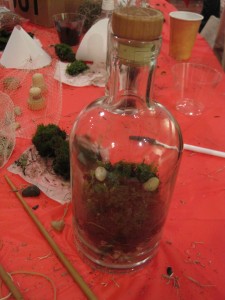
8. Water your terrarium plants. Using a spray bottle or pipette, direct a metered dose of moisture to the terrarium. It’s important not to exceed the drainage capacity. Sealing the bottle with the stopper will create a build up of moisture, and removing it will promote evaporation. Even without a stopper the shape of the ROOT bottle will always trap some moisture via condensation, resulting in a simulated hydrologic cycle. A safe rule of thumb is to water when there isn’t condensation.
Readers, have you made a terrarium? Feel free to give us you best terrarium tips in the comments!
Posted by Julie
*Photos of the workshop in action by Daniel Abraham. Photos of building the terrarium step-by-step by Julie on my pocket Canon Powershot.


